Deploy Smarter. Scale Faster
Managed deployments. Reliable infrastructure
Our Services


How does it work?
-
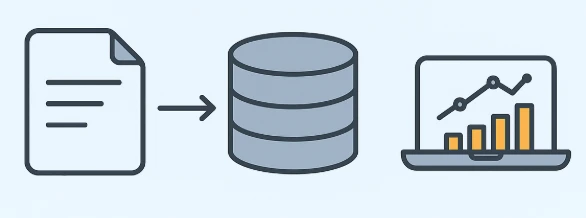
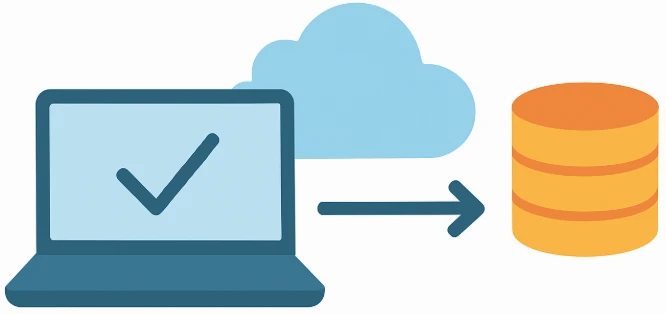
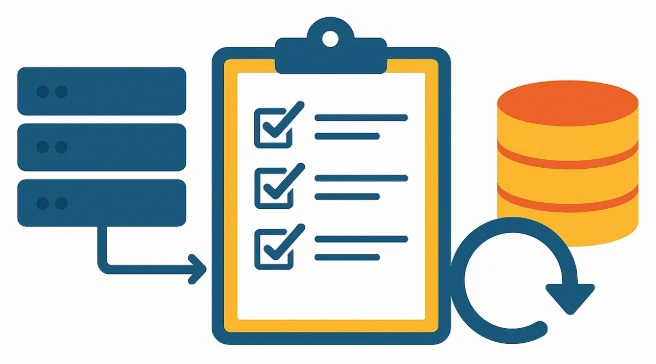
Plan & Quote
Tell us your needs, choose the right plan, and get a clear quotation within 24 hours.
-
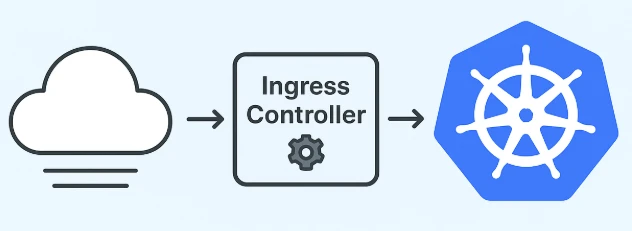
Deploy & Hand-Over
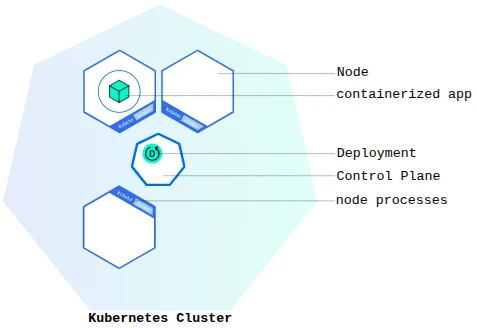
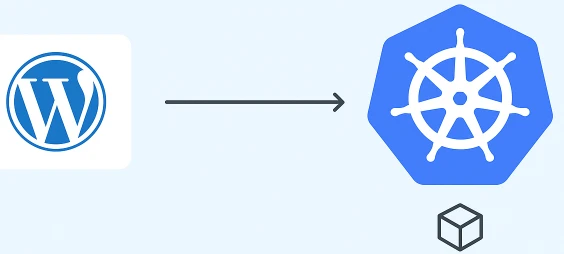
We spin up your Kubernetes cluster, deploy WordPress, secure the ingress, and send you all YAML files.
-
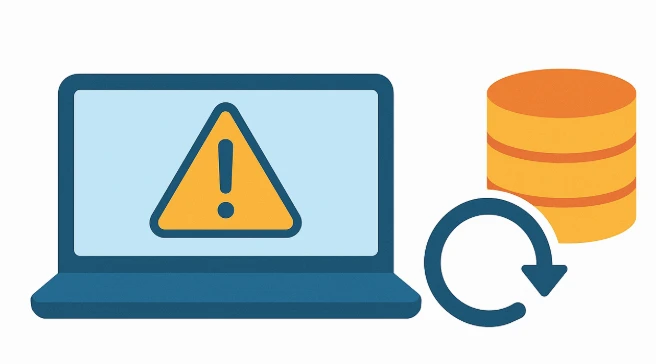
Maintain & Scale
Enjoy peace of mind with 1-year monitoring, backups, and on-demand scaling support.
Want to learn more? Check out Youtube
Frequently Asked Questions

Get in touch
Location
Jalan Tanah Seratus No.14 Sudimara Jaya, ciledug, Kota Tangerang
Phone +62-812-9573-9297
Email info@inetmede.com